Well, the last post was my Confederate tank with a couple of skeletons. I thought this would be a good time to finish the rest of them. I started these about a year ago using cork...I like the effect you get with cork.A couple of shots might be a little blurry, I tried to get these guys to stay still, but they dont listen to me...they can't listen...THEY ARE DEAD. Think I'm losing it.
Civil War Miniatures and Memorabilia... Collector of 19th century ad notes... Confederate Currency... 19th century postcards
Sunday, September 25, 2011
Friday, September 16, 2011
A Civil War tank...What????
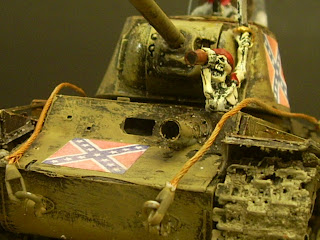
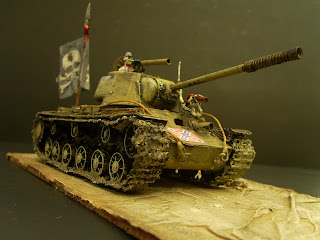
The other day I was playing around on the computer when I came across this online game called Gettysburg: Armored Warfare. Maybe you guys have already heard of it. Its about a mad man in the future going back to the civil War to change the outcome bringing new technology to the 1860s Confederacy. Well the government found out and brought new technology to the Union troops, so the Civil War started all over again. Pretty cool I thought...the game is not out yet, supposed to be this year. So I went out and bought a tank that would have been 81 years in the future from the Civil War. Check it out.
Tuesday, September 13, 2011
Yellow crate
Good evening gentlemen,
The other day I found this ugly little yellow crate and thought I would use it to show fellow bloggers how I make houses...cardboard, actually its called chip board. Its what you get on the back of a memo pad.
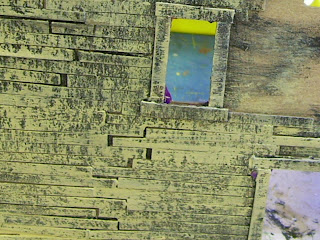
They make great houses. So what I did is do a start to finish on the front of this building and a piece of the roof. The right side is the beginning with a piece of cardboard, then strips of the same board are glued down using a glue stick. White glue takes too long, superglue doesnt give you enough time. So after you glue the strips down paint the whole thing black, when that dries use a light coat of whatever color you want. The window on the left has a piece of mylar with a piece of masking tape painted to separate the window panes. The signage would be the last thing to go on...but you can see right to left the process I use.

Subscribe to:
Comments (Atom)


